Using Sketches for card making

Today, it is my turn to share a little Krafty Tip/tutorial for Kraftin’ Kimmie Stamps, and given how much I know you card makers love to use sketches, I thought I would share a little tip for using sketches in different ways.

10671442_10152637142981014_2173282834441980076_n

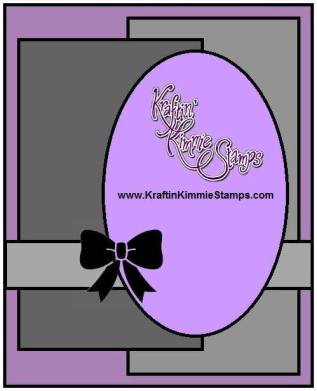
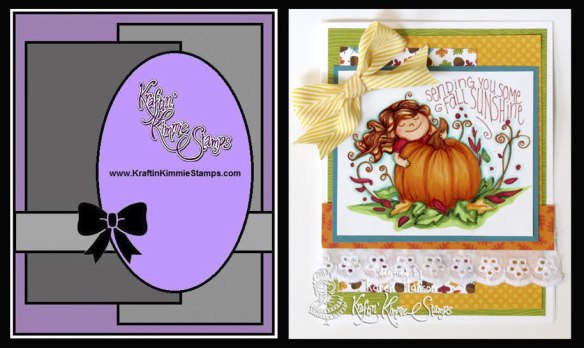
Recently, Kraftin’ Kimmie used this sketch for one of our September challenges, and I thought it was really simple, but packed with possible variations.  One of the thing I love about sketches is that they can make the card making process really quick!  And the great news is that with a bit of “fidgiting”, you can make a whole collection of cards that look totally different using the same sketch.

Sketch-1

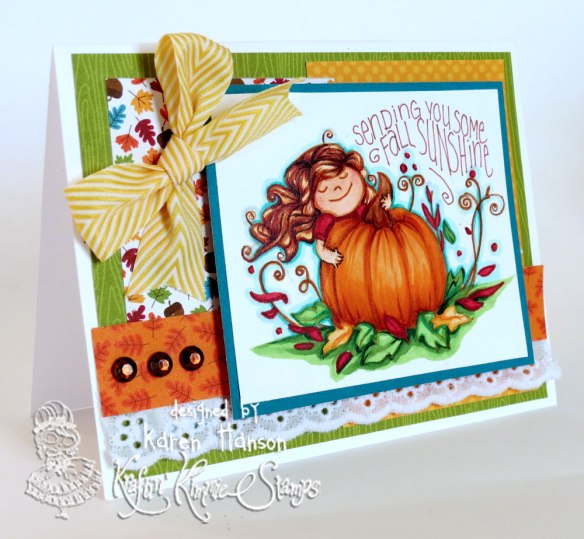
This was the first version I cam e up with, using one of my favourite stamps from the “Happy Haunting” set and some paper from Doodlebug. For this version, I followed the sketch layout pretty closely, just changing the position of the bow and the shape of oval to accommodate the image I chose.  I think it’s a super cute version!

Sketch-2But then I though I would have some fun and see what would happen if I turned the image 90 degrees to the right.  I actually tend to work in landscape a lot because I like the way that the card stands, so turning the image really worked!  All the pieces are exactly the same as they are in the first version – same size, same placement.  The only thing that changed was the direction of the image.  I love that this version shows off a bit more of the paper too!
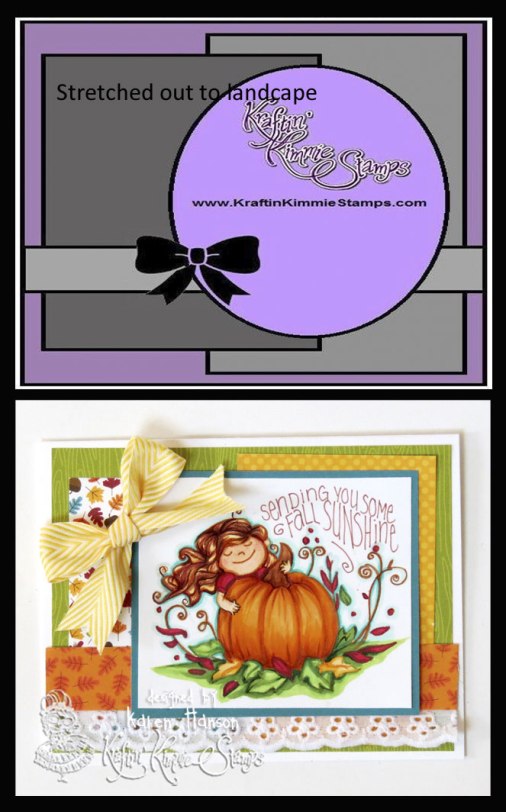
Sketch-3The last version is simply a stretched out version of the orginal sketch.  Since I still wanted to try another landscape version, I simply took the sketch and extended it out on the sides and pinched it a bit top and bottom.  Again, all the pieces are in the same places, but now the dimensions of them are a bit different (wider than longer).  I really love the balance of shapes and sizes in this one, and it was the one that made the final cut!

Final

So there you have it – one sketch 3 different ways with minimal changes!  Image using this technique to crank out your Christmas cards this year – each one would be totally unique, but you would have them done in no time flat!

I hope this little tip has inspired you to get krafty! Thanks for stopping by!


A little tip for you colouring fans!

FullHalo-CloseupI have a confession to make.  I do not always colour in the lines!  No matter how hard I try, I almost always end up outside of the lines in at least one place when I am colouring stamped images.  So I wanted to share a little trick with you today.

For this project, I decided to use one of my favourite ChiChi Memories stamps called “Elephant Love” for this card!  I love the clean lines on this digi, and you can personalize it in all sorts of ways.  So I grabbed my Copics and got to it!

CCMT51Now, if you look closely, you’ll notice that there are a few places where the colour came across the lines around the edges of the stamped image.  If you are using alcohol markers, you can fix this with a colourless blender, but I like to kill two birds with one stone.  So, once I am finished colouring the image…

CCMT52

…I grab my BG11 marker and run it along the outside edge of the image – right over top of any of the marker that has “crossed the line”. This not only blends out any of that colour and draws the eye away from those spots, it also give a “halo” effect to your image and helps it to pop off of the page.

CCMT53If you are not a Copic user – the same technique can work for you – you’ll just have to experiment a bit with the colour that you like best. I like the lighter tones, and I am particularly partial to this blue green colour because I find that it is really subtle and brightens up the image and the other colours I have chosen.  You almost do not notice that it is there – which is exactly the effect I am going for!

Well, that’s it for me today!  I hope you found this little tip helpful.  Thanks for stopping by!

Dimension

So Thankful

Hi everyone!

As some of you might know, I had the chance to design for Whimsy and Stars Studio this summer.  With back to school, and a bit of a busier schedule, I wasn’t sure I would be able to continue, until Mabelle offered me guest designer position for the fall – a perfect for me!

So today, I have a little project for you to help celebrate one of the great things about this time of year – giving thanks!  Thanksgiving is just around the corner, and it is a great chance to reflect about the people and things in your life that bring joy!

Mabelle asked me if I could work the cute digi called  “Sweet as Pie“, and I was happy as pie to oblige!

 
This little card was actually paper pieced to give a bit more definition to the stamp.
It’s actually a really easy process!  Here’s how you can recreate the effect:
Materials:
  • 2 copies of your digi stamp
  • a good pair of scissors with a sharp point
  • foam adhesive
Instructions:
 
Step 1
Print off 2 copies of your image.  Decide what part you would like to “pop out” on your card (I decided to feature the bear’s hands and pie).  On one image, only colour the part of the image that will pop out (eg. the hands and pie).  For the other image colour everything except the part you want to feature.  However, do go and add a little border around the shape so then the image is layered, you will not see white behind.
Step 2
Carefully cut out the piece with a good pair of scissors. Apply a couple of pieces of foam adhesive on top of the second image where you want to place the piece you have cut out.
Step 3
I actually ended up going back to the image and cutting it apart to create even more layers at the dress hemline.  I also added some foam adhesive behind the bear’s head so that it would slight pop out on the card as well.  You can have a lot of fun with this process and really add some interest to your cards!
I hope you were inspired to get creative today and try paper piecing some of your Whimsy and Stars Studio stamps!  Thanks for stopping by!
 

Today is brought to you by the Letter “G”

Letter-G

We have a little gal in our house who loves the colour blue.  And although she is only two, if you ask her what her favourite colour is, her answer is always the same.  In fact, the other day, I asked her what colour she wanted to paint the walls in her room, and she was as clear as her little two year old speak could be – “bwoo”!

So I decided to start by creating a letter for the door to her room.  I picked up a white, wooden letter from my local craft store (with my coupon, of course), and grabbed one of the new stacks from DCWV called “Little Mister”.  Okay, now I know that this probably wouldn’t be the stack that most people would pick up for a project for a little girl (especially since there is a great one called “Little Miss”), but G was pretty clear – she wanted bwoo!  And it makes sense that this fun stack is full of great “bwoo” patterns.  So the challenge was on – make a little project for a little gal from a stack called “Little Mister”!

Letter-G-closeupSo what do you think – does it still look girly?

This project was actually really simple to make!  Simply pick up or cut out a letter that is meaningful in some way.  These wooden letters are nice, but you can get the same effect by using some cardboard and a cutting machine, so don’t be afraid to work completely from scratch!  Choose your piece of cardstock, and turn it to the wrong side.  Flip your letter as well, and then trace the outline onto the patterned paper (if you are using an electronic cutter, you can skip these steps).  Cut it out with a sharp pair of scissors.  Take some decoupage paste and apply a thin coat to your letter – make sure to get all the edges, but don’t put too much on or the paper will slide around when you place it on top.  Flip over the patterned paper and press it down into the paste, making sure to line up all sides.  Place something heavy on top (I actually used my “Little Mister” stack ;)), and leave it to dry for at least 15 minutes.

Bling

Check out all these fine new rhinestones and pearls from DCWV!

While you are waiting, get your embellishments ready. I started by tying some tulle onto the letter, and then added a white bow from ribbon I had from May Arts.  I then cut out a sentiment card from the stack and glued that below the ribbon and tulle.  Finally, I cut out a flower from white cardstock using my Cricut (but you could just buy a silk flower), and used a piece of green patterned paper from the stack to make a couple of leaves.  Once the letter was completely dried, I used my glue gun to adhere everything in place.  Finally, I got out some of my new bling from DCWV, and I was all set.  From beginning to end, with drying time, the project was finished in less than an hour!

Well, that’s it for me!  I have to head off and make another one – this time in pink using the “Little Miss” stack for my other daughter! 😉

Little Mister